Home Staging Checklist: A Room-by-Room Guide for Sellers
A home staging checklist is a room-by-room list of tasks that prepare a house for listing photos and showings: clearing surfaces, removing personal items, adjusting furniture placement, and improving light in each space. The goal is to help buyers picture themselves living in the space. Most sellers work through the list over one or two weekends before a photographer arrives.
- What is a home staging checklist and why does it matter?
- What should a room-by-room home staging checklist include?
- Should you hire a stager or do it yourself?
- How do you prioritize when time is short?
- FAQ
What is a home staging checklist and why does it matter?
A home staging checklist exists because sellers rarely see their own home the way a buyer will. You have lived with the same layout, the same shelf of framed photos, the same stack of mail on the counter for so long that you stop noticing it. A checklist forces a second look, room by room, with fresh eyes.
The list usually covers three areas: what to remove, what to rearrange, and what to clean or tidy on the surface. It does not ask you to fix anything built into the house itself. It asks you to reduce clutter, depersonalize rooms, and arrange furniture so that a camera and a buyer walking through can see the actual space, not the stuff in it.
Realtors and stagers use versions of this list constantly. A stager visiting a property will often walk through with a similar mental checklist, then turn it into written notes for the seller. Stager Notes was built around that exact workflow: turning listing photos into a written report a stager or realtor can hand to a seller, organized by room, before the professional photos are taken.
The value of a checklist is not that it is exhaustive. It is that it is consistent. Without one, sellers tend to focus heavily on one room they feel anxious about (often the kitchen) and skip others entirely. A written list keeps every room getting attention, even the ones nobody thinks to stage, like the laundry area or a home office.
What should a room-by-room home staging checklist include?
Every room has its own version of the same three tasks: remove, rearrange, refresh. Here is what that looks like in practice.
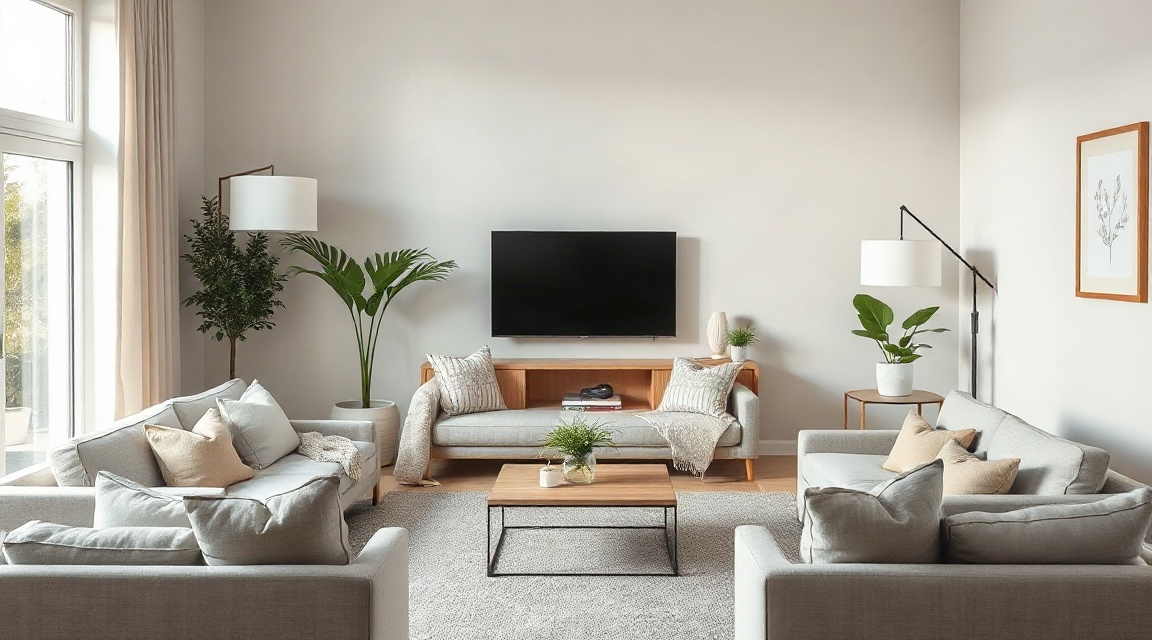
Living room. Remove excess furniture so walking paths are obvious. Angle seating toward a natural focal point, like a window or fireplace, rather than the television. Clear side tables of remote controls, chargers, and stacked mail.
Kitchen. Clear countertops down to a small number of items. Remove magnets, lists, and children's artwork from the refrigerator. Empty the sink. Store small appliances that are not in daily use.
Bedrooms. Make the bed with simple, matched bedding. Remove personal photos from dressers and nightstands. Clear closets partially so they photograph as spacious rather than empty, which can look staged in an obvious way.
Bathrooms. Clear counters of toiletries and toothbrushes. Replace personal towels with plain, matching ones for photos. Remove bath mats that show wear.
Entryway. Remove shoes, coats, and bags from view. Add one small, simple item, like a tray or a plant, so the space does not feel bare.
Outdoor spaces. Clear the porch or patio of storage bins and tools. Sweep walkways. Store bicycles and garden equipment out of the main sightline.
Pro tip: work from the front door inward. Buyers form an impression in the first few steps into a home, and photographers usually shoot the entry and living areas first. If your time runs short, the rooms you have already covered will be the ones that matter most in the listing photos.
Every checklist should also include a pass through storage areas that will not be photographed but might be opened during a showing, such as coat closets near the entry. Buyers do look inside.
For a broader seasonal view of what to prepare before listing, the Listing Prep Almanac breaks tasks down by month and by climate, which is useful if your list needs to stretch over a longer timeline.
Should you hire a stager or do it yourself?
Some sellers work through a checklist alone. Others bring in a professional stager, either for a walkthrough consultation or for full furniture staging. Both are reasonable choices, and the right one depends on your timeline, your home's current furniture, and how comfortable you are making decisions about layout and light without outside input.
| Approach | What it involves | Best suited to |
|---|---|---|
| Self-staging with a checklist | You declutter, rearrange, and clean using a written list, no outside furniture brought in | Sellers on a tight timeline who already have neutral, current furniture |
| Stager consultation only | A stager walks through and leaves written notes on what to change, you do the work yourself | Sellers who want expert eyes but plan to handle the labor themselves |
| Full staging service | A stager brings in furniture and decor, arranges every room, and often photographs the result | Vacant homes or homes with furniture that does not suit the layout |
None of these options is automatically better than the others. A self-staged home with a thorough checklist can photograph well if the existing furniture is in reasonable shape and the seller is willing to remove enough of it. A consultation splits the labor: you get a trained eye on the space, but you still do the physical work. Full staging service takes the most coordination but suits vacant properties, where there is no existing furniture to work with at all.
If you are unsure which path fits your situation, Compare staging options lays out the practical differences in more detail, including how each approach handles timeline and coordination with a realtor.
If you decide a consultation or full staging service is the right fit, you can find a home stager near you to get a sense of who works in your area. Sellers in specific cities can also start with a local list, such as home stagers in Toronto, home stagers in Ottawa, or home stagers in Oshawa.
How do you prioritize when time is short?
Not every seller has a free weekend before a photographer shows up. If you have only a few hours, focus on the tasks that affect the most photographs: the living room, the kitchen, and the primary bedroom. These three rooms almost always appear in a listing, while a guest bathroom or a home office might not.
Within each room, prioritize removal over addition. Taking things out of a room almost always improves how it photographs. Adding new decor is a lower priority and can wait if time runs out.
Light is the other high-value task. Open curtains and blinds fully, turn on every lamp before photos are taken, and replace any bulbs that have burned out. Dim or uneven light shows up clearly in photographs in a way that is hard to fix afterward.
Pro tip: if you can only do one thing in a rushed timeline, clear kitchen counters completely and leave them that way until the photographer leaves. Kitchens photograph more often than any other room, and a cluttered counter is one of the most common complaints stagers raise when reviewing listing photos.
For guidance on general household preparation and safety around cleaning products during a staging push, the U.S. Consumer Product Safety Commission publishes plain guidance on handling common household chemicals, which is useful if you are deep-cleaning surfaces you do not usually touch.
FAQ
Do I need to buy new furniture to stage my home? No. Most checklists focus on removing and rearranging what you already own. New items are only something to consider if a specific room has very little furniture or if existing pieces are in poor condition.
How long before listing should I start the checklist? Most sellers start one to two weeks before photos are scheduled. This gives time to clear clutter, arrange donation or storage for extra items, and handle small surface repairs without rushing.
Should I stage rooms that will not be photographed, like a laundry room? It is useful to give even those a light pass. Buyers touring in person will open doors and glance into every room, and an overlooked space can stand out against rooms that were clearly prepared.
Key takeaways
| Point | Why it matters |
|---|---|
| A checklist covers remove, rearrange, refresh | Keeps every room getting attention, not just the one room a seller feels anxious about |
| Living room, kitchen, and primary bedroom get priority | These rooms appear in nearly every set of listing photos |
| Light matters as much as layout | Dim or uneven light is difficult to correct after photos are taken |
| Self-staging, consultation, and full service are all valid | The right choice depends on timeline, furniture, and whether the home is vacant |
| Storage areas still deserve a light pass | Buyers open closets and cabinets during in-person showings |
Keep reading
For sellers
The home staging checklist, room by room
Every room in the house, in the order to do them: what to remove, what to rearrange, and what a photo actually notices.
For sellers
What to fix before selling your house (and what to skip)
The repairs buyers notice first, and the projects you should not start six weeks before listing.
For sellers
How to declutter before selling, without the panic
A calm order of operations for thinning out a house before listing: what goes first, where it goes, and how far is far enough.
Want this list built for your actual rooms?
Upload a few phone photos and the free Staging Snapshot starts the plan for your rooms. No account needed.