Kitchen Staging: A Step-by-Step Guide to Getting It Right
Kitchen staging means clearing, cleaning, and arranging a kitchen so it photographs well and shows clearly to buyers, which usually comes down to removing excess items from counters, depersonalizing surfaces, and making sure lighting and sightlines are unobstructed before a listing goes live. The steps below follow the order most stagers and photographers use, from planning through the final walk-through.
- What does kitchen staging actually involve?
- How do you prepare counters and surfaces?
- What should you do with cabinets and storage?
- How does lighting affect kitchen staging?
- Should you hire a professional or do it yourself?
What does kitchen staging actually involve?
A kitchen is one of the first rooms buyers study closely in listing photos, so it tends to get more attention than a bedroom or hallway. Staging it well is less about decorating and more about editing. The goal is to let the room's actual features, cabinet space, counter area, natural light, come through without visual clutter competing for attention.
Most stagers work through the room in a set order: clear the counters first, then address cabinets and open shelving, then check lighting, and finally look at smaller details like towels, mats, and any wall décor. Working in this order avoids backtracking, since clearing counters often reveals what needs to be tucked into cabinets, and cabinet changes affect how lighting reads in photos.
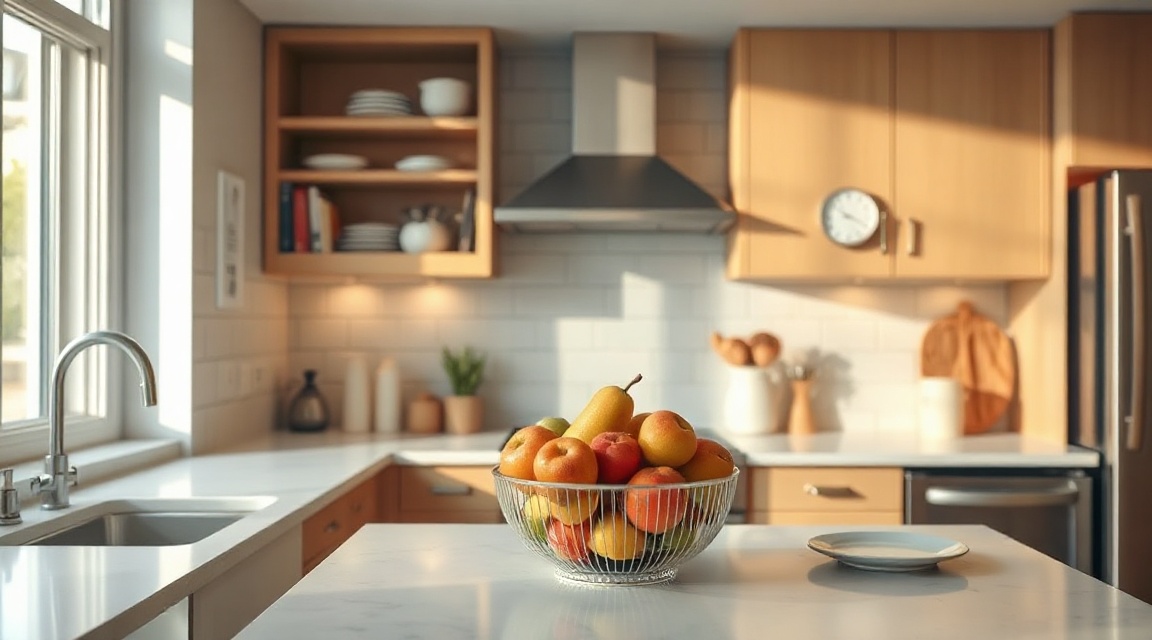
This process is also where a written staging report earns its keep. Instead of trying to remember every small note from a walk-through, a stager or agent can hand the seller a room-by-room list before the photographer arrives. If you are comparing how different professionals approach this, the Listing Prep Almanac has a broader library of room-specific guidance beyond the kitchen.
How do you prepare counters and surfaces?
Start with what sits on the counters permanently. Small appliances, such as coffee makers, toasters, or stand mixers, usually need to come off the counter entirely, even if they are used daily. The exception is a single item that signals the counter's function without crowding it, such as one kettle or one cutting board left in a deliberate spot.
Next, clear anything personal: mail, notes held by magnets, medication bottles, and children's drawings. These items are useful in daily life but distracting in a photo, since a viewer's eye goes straight to them instead of the counter or cabinetry.
Wipe down all surfaces, including backsplash tile and the front edge of counters, since photos taken at an angle often catch smudges and residue that are easy to miss when standing directly in front of them. Stainless steel appliances in particular show fingerprints clearly under camera flash.
Pro tip: Photograph the counters yourself on a phone before the professional photographer arrives. Small marks, cords, and clutter are far easier to spot in a photo than in person, and it gives you a chance to fix them without wasting the photographer's time.
What should you do with cabinets and storage?
Buyers looking at kitchen photos are often trying to judge storage space, so open cabinets and drawers matter more here than in most other rooms. If a stager or agent plans to photograph the inside of any cabinet, that space should be treated the same way as a counter: items grouped, front-facing labels turned outward, and gaps left visible so the space does not look packed.
Even cabinets that will not be photographed benefit from a quick tidy, since some buyers open a cabinet or two during private viewings later. A stager's written report often separates "must do before photos" tasks from "nice to have before showings," which helps a seller prioritize without feeling like everything must be perfect at once.
Here is how the three common approaches to preparing kitchen storage compare in practice:
| Approach | Time required | Typical result |
|---|---|---|
| Full declutter and reorganize every cabinet | Longest, often a full afternoon | Consistent look throughout, useful if buyers open drawers during showings |
| Address only cabinets likely to appear in photos | Moderate, a couple of hours | Photos look clean, but a closer look in person may reveal disorganized areas |
| Quick surface tidy with no reorganizing | Shortest, under an hour | Counters look better, but open shelving or glass-front cabinets may still look cluttered |
Choosing between these often comes down to the timeline before the photographer arrives and whether the seller expects private showings soon after listing.
How does lighting affect kitchen staging?
Kitchens often have mixed lighting sources: overhead fixtures, under-cabinet lights, a window, and sometimes a pendant over an island. Each of these can produce a different color tone in a photo, which is why kitchens sometimes look slightly yellow or blue in listing photos even when the room looks fine in person.
Before photos are taken, turn on every light source in the kitchen, including under-cabinet lighting that is easy to forget. Open blinds or curtains fully to bring in as much natural light as possible, and check whether any bulbs have burned out or are a noticeably different color temperature than the others nearby. Swapping a mismatched bulb is a small task that makes a visible difference.
If the kitchen has a window over the sink, clear anything sitting on the sill, since this is a common spot for small plants, sponges, or dish soap bottles to accumulate. A clear sill lets more light in and gives the photo a cleaner line.
Pro tip: If the kitchen faces a direction with strong afternoon sun, ask the photographer whether a morning or overcast-day session might produce more even lighting. Harsh direct sun through a window can wash out counters in photos, even when the room looks pleasant in person.
Should you hire a professional or do it yourself?
Some sellers handle kitchen staging themselves, especially if the kitchen is already fairly clear and the main task is a deep clean and a bit of editing. Others bring in a professional stager, particularly if the kitchen is a main selling feature of the home or if the seller is short on time before the listing date.
A professional stager typically walks through the whole home, not just the kitchen, and produces a written list of changes for each room. This is useful because it standardizes the process across a listing instead of leaving each room to individual judgment. If you want to see how a report like this looks before hiring someone, the Compare staging options page outlines a few different approaches sellers and agents use.
For sellers working with an agent already, ask whether the agent has a stager they usually work with, since many agents already have this relationship in place. You can also find a home stager near you if you are starting from scratch, including local listings for Toronto, Ottawa, and Oshawa.
The Canada Mortgage and Housing Corporation publishes general guidance on preparing a home for sale, which touches on staging as one part of a broader listing preparation process. See the CMHC homepage for more general resources on home selling preparation.
FAQ
Does kitchen staging mean buying new items for the kitchen? No. Most kitchen staging is about removing and rearranging what is already there. Some stagers bring in a few neutral accessories, like a bowl or a set of towels, but the bulk of the work is editing, not purchasing.
How long does kitchen staging usually take? It depends on the starting point. A kitchen that is already tidy might need an hour of surface work, while a kitchen with a lot of counter clutter or disorganized cabinets can take a full afternoon, especially if cabinets will be photographed.
Can kitchen staging be done the same day as photos? It can, but it is tighter than doing it the day before. Many stagers recommend finishing kitchen staging at least one day ahead so there is time to notice anything missed, like a burnt-out bulb or a smudge on a stainless steel surface, before the photographer arrives.
Key takeaways
| Point | Why it matters |
|---|---|
| Clear counters first | Sets the order for the rest of the room and reveals what needs storage |
| Group and face items inside cabinets | Buyers judge storage space, and open cabinets are often photographed |
| Turn on every light source before photos | Mixed lighting can create uneven color tone in listing photos |
| Deep clean surfaces, especially stainless steel | Fingerprints and residue show clearly under camera flash |
| Decide between full staging and a quick tidy based on timeline | Each approach has a different time cost and a different result in photos |
| A written room-by-room list keeps the process consistent | Useful whether a seller works alone or with a professional stager |
Keep reading
For sellers
The home staging checklist, room by room
Every room in the house, in the order to do them: what to remove, what to rearrange, and what a photo actually notices.
For sellers
What to fix before selling your house (and what to skip)
The repairs buyers notice first, and the projects you should not start six weeks before listing.
For sellers
How to declutter before selling, without the panic
A calm order of operations for thinning out a house before listing: what goes first, where it goes, and how far is far enough.
Want this list built for your actual rooms?
Upload a few phone photos and the free Staging Snapshot starts the plan for your rooms. No account needed.