Living Room Staging: A Step-by-Step Guide for Home Sellers
Living room staging means arranging furniture, light, and decor so the room reads clearly in listing photos and in person, with clutter removed and each piece given an obvious purpose. The work happens before a photographer arrives, and it follows a fixed order: clear the room, fix the layout, adjust the light, then finish with small details like textiles and accessories.
- What Does Living Room Staging Actually Involve?
- How Do You Declutter a Living Room Before Photos?
- How Should Furniture Be Arranged for Small or Large Rooms?
- What Lighting Changes Make the Biggest Difference?
- Should You Hire a Stager or Do It Yourself?
- FAQ
- Key takeaways
What Does Living Room Staging Actually Involve?
Staging a living room is different from redecorating it. The goal is not to make the space personal or trendy. The goal is to make the room easy to read in a photograph and easy to walk through in person, so a buyer can picture their own furniture in it rather than yours.
That usually means three separate passes through the room. The first pass removes anything that is not doing a job: extra side tables, cords, stacks of mail, personal photographs. The second pass adjusts the furniture so there is a clear path in and a clear seating arrangement, usually built around whatever the room's main window or focal wall happens to be. The third pass handles light and small finishing touches, like a folded throw or a single plant, added only after the first two passes are done.
Realtors preparing a listing often work from a written room-by-room plan rather than trying to remember every step on-site. The Listing Prep Almanac walks through this same sequence for every room in a home, not just the living room, which is useful if you are staging an entire listing rather than one space. If you want to see how staging choices compare across budgets and timelines before you start, the Compare staging options page lays out the trade-offs plainly.
How Do You Declutter a Living Room Before Photos?
Decluttering a living room for photos is stricter than decluttering it for daily life. A room can look tidy to someone standing in it and still look busy in a photograph, because a camera flattens depth and makes every object compete for attention on the same plane.
Start with flat surfaces: coffee tables, side tables, window sills, and any shelving. Clear each one down to no more than two or three objects, and choose objects that are plain rather than patterned. Remove remote controls, chargers, and cords from view, or tuck them behind furniture. Take down personal photographs and any personal or family displays, since these tend to distract a viewer from the room itself and can make it harder for a buyer to picture their own life there.
Books and media can stay, but a shelf that is completely full reads as cluttered even if every item is neatly stacked. Removing a third of the items usually helps more than straightening what remains.
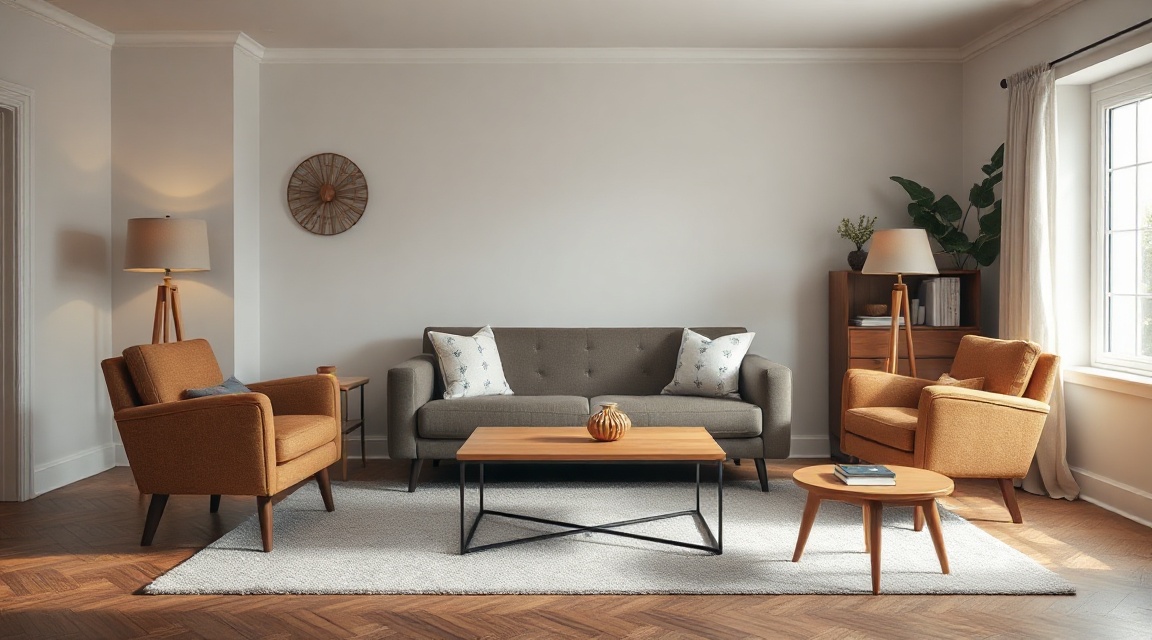
Pro tip: photograph the room on your phone before you start moving anything. It is much easier to spot clutter in a flat image than while standing in the room, and the photo gives you a clear before-and-after reference once the work is done.
How Should Furniture Be Arranged for Small or Large Rooms?
The right furniture arrangement depends heavily on the size and shape of the room, and there is no single layout that works everywhere. The table below compares three common situations and the trade-offs of each approach.
| Room type | Common approach | Main trade-off |
|---|---|---|
| Small living room | Fewer, smaller pieces angled toward one focal point | Less seating shown, but the room photographs larger |
| Large open-concept living room | Furniture grouped into one or two clear zones rather than spread out | Requires more furniture to fill the space without leaving it empty-looking |
| Narrow or long living room | Furniture arranged across the short axis rather than the long one | Walking path becomes shorter, so furniture must be kept lower profile |
In a small room, the instinct is often to push every piece against the walls to open up floor space, but this can make a room look emptier and less usable in photos. Pulling a sofa a short distance off the wall and angling chairs toward it usually reads better, even though it takes up more visual space.
In a larger or open-concept room, the opposite problem shows up: furniture spread too thinly can make the room look under-furnished. Grouping pieces into one or two clear seating areas, with a rug to anchor each group, gives the room a defined shape rather than a scattered one.
What Lighting Changes Make the Biggest Difference?
Lighting is often the single biggest variable in how a living room photographs, and it is also the easiest to get wrong. Mixed light sources, daylight from a window combined with a warm lamp and an overhead fixture, can cause a camera to shift colour oddly across the room, so one wall looks blue and another looks orange in the same image.
Before a photographer arrives, turn off any lights that clash in colour temperature with the rest of the room, or replace bulbs so they match. Bulbs are labelled by colour temperature, and matching them across every fixture in a room removes one of the most common problems in listing photos. The ENERGY STAR program publishes general guidance on bulb types and labelling that is useful if you are replacing bulbs across a whole home rather than one room.
Open curtains and blinds fully during the day, and clean windows so daylight comes through clearly. If the room has a darker corner that a lamp cannot reach evenly, it is often better to leave that corner mostly empty rather than fill it with furniture that will photograph as a shadowed mass.
Pro tip: take test photos at different times of day before deciding on furniture placement. A layout that looks balanced at noon can look completely different in the flatter light of late afternoon, and photographers usually have a preferred window for each home.
Should You Hire a Stager or Do It Yourself?
Some sellers handle living room staging themselves, especially in smaller homes or where the room is already close to photo-ready. Others bring in a professional stager, either to do the physical work or to prepare a written plan the homeowner follows themselves.
Doing it yourself works well when the room already has simple, coordinated furniture and the main task is decluttering and light adjustment rather than rearranging or borrowing pieces. It tends to fall short when a room has an awkward layout, mismatched furniture scale, or lighting problems that are hard to diagnose without an outside eye.
A professional stager brings a second set of eyes and, often, furniture or accessories to fill gaps that a homeowner's existing pieces cannot. Realtors preparing a listing frequently coordinate this work directly, and homeowners selling on their own can do the same. You can find a home stager near you to compare local options, or look at listings for home stagers in Toronto, home stagers in Ottawa, or home stagers in Oshawa if you are selling in one of those areas.
Whichever route you choose, the written plan matters as much as the physical work. A room-by-room list of what to remove, move, and adjust means nothing gets missed on the day the photographer shows up, and it gives a homeowner a clear reference if they are doing the work themselves over several days rather than all at once.
FAQ
Does living room staging mean buying new furniture? Not usually. Most staging work uses furniture already in the home, rearranged and edited down. New or borrowed pieces are typically brought in only to fill a genuine gap, such as an empty corner or a missing seating piece, rather than to replace what is already there.
How long does living room staging take? For a single room, the decluttering and rearranging can usually be done in a single session, though lighting adjustments and small finishing touches sometimes take a second pass once you can see how the room photographs.
Should the living room match the rest of the house? It helps if the colour palette and general style feel consistent from room to room, since a jarring shift between spaces can make a home feel disjointed in a photo set. It does not need to match exactly, and small variation between rooms is normal.
Key takeaways
| Point | Why it matters |
|---|---|
| Declutter before rearranging furniture | A cluttered surface reads worse in photos than in person, so this step should come first |
| Match light sources before photos are taken | Mixed colour temperatures across one room can shift colours oddly in a camera |
| Furniture layout depends on room shape, not a single template | A layout that works in a small room can look sparse or crowded in a large one |
| A written room plan helps whether you DIY or hire help | It keeps the work consistent across multiple days and multiple rooms |
| Local stagers can help with layout and lighting problems | An outside eye often spots issues a homeowner has stopped noticing |
Keep reading
For sellers
The home staging checklist, room by room
Every room in the house, in the order to do them: what to remove, what to rearrange, and what a photo actually notices.
For sellers
What to fix before selling your house (and what to skip)
The repairs buyers notice first, and the projects you should not start six weeks before listing.
For sellers
How to declutter before selling, without the panic
A calm order of operations for thinning out a house before listing: what goes first, where it goes, and how far is far enough.
Want this list built for your actual rooms?
Upload a few phone photos and the free Staging Snapshot starts the plan for your rooms. No account needed.