Staging a Condo: A Room-by-Room Guide for Sellers
Staging a condo means editing furniture and storage so each room photographs clearly and reads as spacious, then adjusting lighting and small details so buyers can picture the unit without distraction. The process is smaller in scope than staging a detached home, but condos have less room for error because every square foot shows in photos.
- What does staging a condo actually involve?
- Where should you start in a small unit?
- How do you handle storage and closets?
- What about balconies and shared amenities?
- Should you hire a stager or do it yourself?
What does staging a condo actually involve?
Staging a condo starts with a walkthrough of every room, done the way a camera will see it. That means standing in doorways, not just the middle of a room, since most listing photos are shot from entry points to capture the widest angle.
The work usually breaks into four parts: removing or relocating furniture that crowds a room, clearing personal items and clutter from visible surfaces, adjusting lighting so rooms look bright and even, and making small repairs to scuffed walls or worn hardware that would otherwise draw the eye in a photo.
Condos add a layer that detached homes do not have. Shared hallways, elevators, and lobby areas are part of a buyer's first impression, even though they are not part of the listing photos. A stager cannot change common areas, but they can note how a unit's entry door and immediate interior should look given what a buyer just walked through.
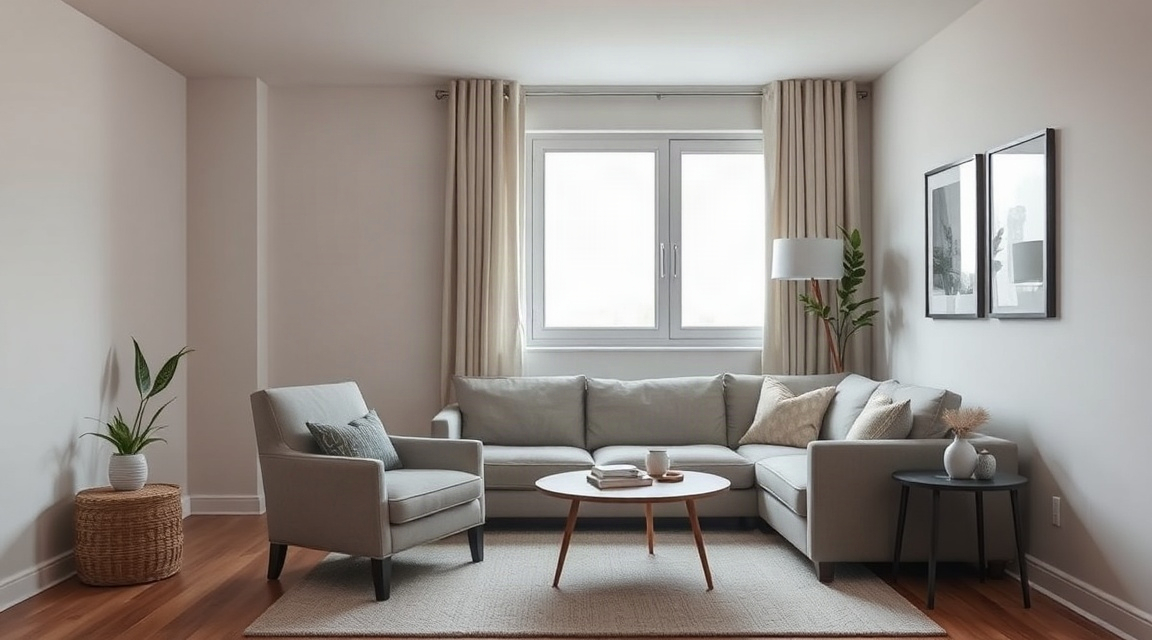
The other difference is scale. A three-bedroom house has room to hide a staging mistake in a guest bedroom nobody photographs closely. A one-bedroom condo does not. Every room in a condo listing is a hero room, so the margin for clutter or awkward furniture placement is smaller.
Where should you start in a small unit?
Start with the room a buyer sees first in the photos, which is usually the main living area, not the entry. Listing photos are typically ordered to lead with the most open, most flattering room, so that room needs to be right before anything else.
In a small unit, oversized furniture is the most common problem. A sectional that fits comfortably in a house living room can make a condo living room look undersized in photos. The fix is not always removal. Sometimes swapping a large piece for a smaller one, or angling it differently, opens up a sightline that reads better through a wide lens.
Work room by room in this order: main living space, kitchen, primary bedroom, bathroom, then any secondary rooms. This order matches how most buyers scan a listing, and it means the highest-traffic rooms get the most attention while you still have energy and time before a photographer arrives.
Pro tip: Photograph each room yourself on a phone before the real photographer comes. A phone camera has a narrower field of view than most listing photography, but it will still show you where a piece of furniture blocks a doorway or a window, and those problems are much easier to catch a week early than the morning of a shoot.
How do you handle storage and closets?
Storage is the detail that separates a condo that photographs well from one that photographs like a warehouse. Closets, kitchen cabinets, and under-sink storage often get opened during a showing, and buyers looking at condos pay close attention to storage because unit storage is usually more limited than in a house.
For photos specifically, closets rarely appear open unless the listing photos are highlighting storage as a feature. But cleared, organized closets matter beyond the photo itself, because a stager or realtor walking through before the shoot will often ask that closets be tidied in case a wide shot catches an open door, and because the same unit will need to look presentable at showings once photos are done.
The general approach is to reduce visible volume, not to hide items entirely. Half-empty closets and clear counters read as spacious. Overstuffed but out-of-sight storage, like a closet crammed to the ceiling with the door closed, does not show in photos but will surface at a showing, so it is good to address before listing rather than leaving until the last minute.
What about balconies, dens, and shared spaces?
Many condos include a balcony, den, or flexible alcove that does not fit neatly into a standard room count. These spaces often get skipped in staging because they are small, but they show up in listing photos and buyers notice when they look neglected or serve no clear purpose.
Treat a balcony as its own small room if it is usable in the photos. A single chair and a small plant can do more than an empty space with a stored bicycle or bin. A den or alcove should be staged for one clear function, such as a compact desk setup, rather than left as a catch-all for boxes, since an undefined space photographs as clutter regardless of its size.
Shared amenities like a gym, lounge, or rooftop terrace are not part of the unit itself, but if the realtor plans to include amenity photos in the listing, mention this early. Amenity spaces are shared property and usually cannot be rearranged by a stager, so any staging notes for those areas are limited to timing the shoot around when the space is clear of other residents.
Should you hire a stager or do it yourself?
This depends on the size of the unit, the timeline before listing, and how comfortable the seller is making editing decisions about their own furniture. There is no single right answer, but the trade-offs are consistent enough to lay out directly.
| Approach | Time required | Typical result | Best fit |
|---|---|---|---|
| Full-service staging with rental furniture | Coordinated around the stager's schedule, usually a few days lead time | Consistent, photo-ready rooms with matched furniture | Vacant condos or units with mismatched or worn furniture |
| Staging consultation using the seller's own furniture | A single walkthrough plus a follow-up before photos | Improved layout and editing without new furniture | Occupied condos where the existing furniture is in reasonable shape |
| Self-directed staging using a written guide | Spread across a few evenings or a weekend | Variable, depends on the seller's eye for space and light | Sellers on a tight timeline or comfortable making these calls alone |
A written staging report, the kind a stager or realtor produces from listing photos before a shoot, works well alongside any of these three approaches. It gives a room-by-room list of what to change, which makes the difference between a stager's advice and a seller's follow-through much smaller, whether an actual stager is on site or not. You can find a home stager near you if you want a professional walkthrough, or start with a comparison of staging options if you are still deciding what level of help makes sense for your unit.
Sellers working in specific cities sometimes prefer someone who knows local condo buildings and their typical layouts. If that applies to you, it can help to look at home stagers in Toronto, home stagers in Ottawa, or home stagers in Oshawa, depending on where the unit is located.
What order should staging, cleaning, and photography happen in?
Staging should happen before deep cleaning, and deep cleaning should happen right before the photographer arrives, not days ahead of it. If you clean first and stage second, moving furniture and boxes back into place will undo some of the cleaning, particularly on floors and baseboards.
A reasonable sequence looks like this: clear clutter and make staging decisions first, do repairs and touch-ups second, deep clean third, and do a final walkthrough the morning of the shoot to catch anything moved back into place. This keeps the most disruptive work early and the most visible details fresh right before the camera.
The Listing Prep Almanac covers this sequencing in more detail across different property types, including timing guidance for condos specifically, since the shared building elements like elevators and loading docks sometimes affect how much notice a mover or cleaner needs.
For broader guidance on preparing any home for sale, including staging considerations that apply across property types, the National Association of Realtors publishes general seller resources that cover listing preparation beyond staging alone.
FAQ
Does a small condo need less staging than a house? Not necessarily less, but different. A small condo has fewer rooms to stage, but each room carries more weight in the listing since there are no secondary rooms to absorb a bad photo. Attention per room is usually higher, not lower.
Can you stage a condo that is still occupied? Yes. Most condo staging happens in occupied units. The work focuses on editing what is already there, clearing surfaces, adjusting furniture placement, and removing a portion of personal items rather than replacing everything with rental furniture.
How far in advance should staging start before listing photos? A few days to a week is usually enough for a one or two bedroom condo, assuming no major furniture rental is involved. Units needing rental furniture or larger repairs need more lead time, so it helps to confirm the photography date early and work backward from it.
Key takeaways
| Point | Why it matters |
|---|---|
| Photograph rooms in the order buyers see them | Ensures the most-viewed rooms get the most staging attention |
| Reduce visible furniture volume in small rooms | Oversized furniture makes condo rooms photograph smaller than they are |
| Clear and organize closets, not just visible surfaces | Storage is a common concern for condo buyers and surfaces at showings |
| Give every balcony or den a clear function | Undefined space photographs as clutter regardless of size |
| Stage before deep cleaning, clean right before photos | Prevents moving furniture from undoing cleaning work |
| Match the staging approach to timeline and unit condition | Full-service, consultation, and self-directed staging each fit different situations |
Keep reading
For sellers
The home staging checklist, room by room
Every room in the house, in the order to do them: what to remove, what to rearrange, and what a photo actually notices.
For sellers
What to fix before selling your house (and what to skip)
The repairs buyers notice first, and the projects you should not start six weeks before listing.
For sellers
How to declutter before selling, without the panic
A calm order of operations for thinning out a house before listing: what goes first, where it goes, and how far is far enough.
Want this list built for your actual rooms?
Upload a few phone photos and the free Staging Snapshot starts the plan for your rooms. No account needed.