The Selling Your House Checklist: A Room-by-Room Guide for Sale
A selling your house checklist is a room-by-room list of the small changes, tidying, and staging tasks a seller works through before listing photos are taken, so the home shows well online and in person. The order matters. Start with the exterior and entry, move through the main living spaces, then bedrooms and secondary rooms, and finish with a walk-through right before the photographer or first showing. Working through it in that order avoids backtracking and wasted effort.
- What Is a Selling Your House Checklist and Why Does Order Matter?
- Which Rooms Should You Tackle First?
- How Do You Decide Between Staging Yourself and Hiring a Professional?
- What Should You Do Before the Photographer Arrives?
- FAQ
- Key takeaways
What Is a Selling Your House Checklist and Why Does Order Matter?
A checklist for selling a house is not a single list. It is a sequence. Sellers who jump straight to buying new decor before clearing clutter often end up redoing work, because clutter hides the problems that decor is supposed to solve.
The logical order is: clear and clean first, repair small cosmetic issues second, then arrange and stage third. Skipping the first step means the second and third steps take longer, because you are working around mess instead of with a clean room.
Order also matters because photography and showings happen on a schedule. Once a listing date is set, there is a fixed window to finish everything. A checklist organized by room and by task type keeps that window from closing on unfinished work.
Realtors and home stagers who prepare listings regularly often build this list from photos of the home before anything is touched, noting what to change room by room. That written list, handed to the seller ahead of time, saves the back-and-forth of walking through the home twice. Stager Notes turns a set of listing photos into exactly that kind of report, which is why many stagers and agents use one instead of writing notes from scratch for every listing.
Pro tip: Do the whole-home declutter pass before you touch a single room's staging. Boxes and bins stacked in a hallway will show up in the background of photos taken in an adjoining room, even if that hallway was not the one you were working on.
Which Rooms Should You Tackle First?
Start outside. The exterior and entry are the first thing a buyer sees, whether they are walking up or scrolling through photos online. Clear walkways, tidy the entry, and remove anything that crowds the front door.
Move inside to the main living spaces next: living room, kitchen, and dining area. These rooms appear in the most listing photos and get the most attention during showings, so they carry the largest share of the work.
Bedrooms and bathrooms come next. These rooms benefit from a lighter touch than the main living spaces. Buyers want to picture their own belongings in these rooms, so less personal decor tends to work better than more.
Secondary spaces, such as basements, home offices, or laundry areas, come last. They still need to be tidy and presentable, but they rarely need full staging treatment.
The table below breaks down a few common approaches to working through this list.
| Approach | What it involves | Time commitment | Good fit for |
|---|---|---|---|
| Full DIY checklist | Seller does every task alone, room by room | Longest, spread over several weekends | Sellers with time and a clear eye for detail |
| Written staging report only | A stager or report reviews photos and lists changes per room, seller does the work | Shorter prep time, work still falls on seller | Sellers who want direction without full staging service |
| Stager walkthrough plus report | Stager visits in person, then provides a written list | Moderate, one visit plus seller follow-through | Sellers who want a second opinion on layout |
| Full staging service | Stager brings in furniture and decor, arranges rooms directly | Least seller time, most coordination needed | Vacant listings or sellers with limited furniture |
Pro tip: If you are working from a written list rather than a full staging visit, tackle the rooms in the order they appear in the report, not the order that feels easiest. Reports are usually sequenced by how much each room affects the overall impression of the listing.
How Do You Decide Between Staging Yourself and Hiring a Professional?
The right choice depends on how much furniture you already have, how much time is left before listing, and whether the home is occupied or vacant during the sale.
If the home is occupied and mostly furnished, a written checklist or report is often enough. The furniture and decor exist already, and the task is mainly editing: removing excess, rearranging what is left, and tidying surfaces.
If the home is vacant, or furnished with pieces that do not suit the space, a stager who brings in furniture may save more time than trying to source and arrange pieces yourself. Compare staging options to see how different service levels line up against each other before deciding.
Working with a local professional also has an advantage: they know what tends to matter in that specific market. A stager in one city may flag different priorities than one in another. If you are in the Toronto area, home stagers in Toronto can walk a property in person. The same applies for home stagers in Ottawa and home stagers in Oshawa. If none of those match your area, find a home stager near you to search more broadly.
Whichever route you choose, the seller still does most of the physical work in an occupied home. A stager's report or visit tells you what to change. It does not do the packing, cleaning, or moving for you.
What Should You Do Before the Photographer Arrives?
The final walk-through happens right before the camera comes out, and it catches things the earlier passes missed. Cords, pet items, and personal mail tend to reappear on counters between the main staging pass and photo day, simply because the home is still lived in.
Walk through with a phone camera and take a photo of each room from the angle a listing photo would use. This reveals what a camera actually sees, which is often different from what a person notices walking through in person. Reflections in mirrors, cluttered counters just out of eye level, and cords along baseboards show up clearly in photos but get missed by eye.
Open blinds and curtains for natural light, and turn on interior lights even during the day. Photographers generally prefer working with more light available rather than less, and it is easier to have lights on and not need them than to scramble to turn them on room by room.
Check that each room's main function is obvious. A bedroom should look like a bedroom, not a storage room with a bed in it. A dining table should be set for dining, not covered in mail and school supplies.
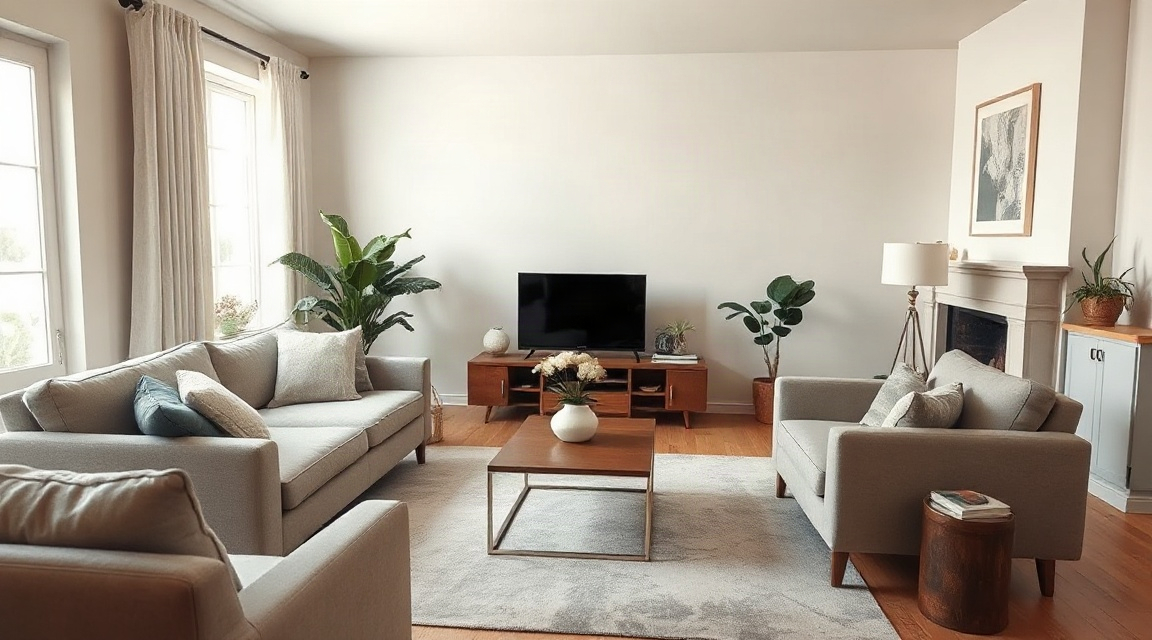
For a longer seasonal breakdown of what to prepare and when, the Listing Prep Almanac covers timing for different points in the year, since light, plant growth, and typical buyer schedules shift across seasons.
For general guidance on preparing a home for sale from a Canadian perspective, the Canada Mortgage and Housing Corporation publishes consumer information on the homebuying and selling process, which is a useful starting point if you want a government source alongside stager-specific advice.
FAQ
How far in advance should I start a selling your house checklist? Most sellers start several weeks before the listing date, since decluttering and minor cosmetic touch-ups take longer than expected once you get into individual rooms and closets.
Do I need to stage every room in the house? No. Main living spaces, the kitchen, and bedrooms usually get the most attention. Secondary spaces like storage rooms or utility areas need to be tidy but rarely need full staging.
Can I use a written checklist instead of hiring a stager to visit in person? Yes, and many sellers do. A written report built from listing photos gives room-by-room direction without an in-person visit, which works well for occupied homes where the main task is editing rather than furnishing from scratch.
Key takeaways
| Point | Why it matters |
|---|---|
| Work through the checklist in order: declutter, repair, stage | Skipping ahead causes rework once earlier steps are finally done |
| Exterior and main living spaces get priority | These appear in the most photos and get the most buyer attention |
| Bedrooms and bathrooms need a lighter touch | Buyers want to picture their own belongings in these rooms |
| Choose DIY, a report, or full staging based on furniture and time | Occupied and well-furnished homes often need less than vacant ones |
| Do a final walk-through right before photos | Small clutter reappears between the main staging pass and photo day |
| Local stagers know local expectations | A stager familiar with your market can flag different priorities than a generic checklist |
Keep reading
For sellers
The home staging checklist, room by room
Every room in the house, in the order to do them: what to remove, what to rearrange, and what a photo actually notices.
For sellers
What to fix before selling your house (and what to skip)
The repairs buyers notice first, and the projects you should not start six weeks before listing.
For sellers
How to declutter before selling, without the panic
A calm order of operations for thinning out a house before listing: what goes first, where it goes, and how far is far enough.
Want this list built for your actual rooms?
Upload a few phone photos and the free Staging Snapshot starts the plan for your rooms. No account needed.