What Is a Home Staging Consultation and How It Works
A home staging consultation is a walkthrough of a property, usually done by a professional stager or a real estate agent working with one, where the visitor moves room by room and notes specific changes a seller can make before listing photos are taken. The output is typically a written list or report, organized by room, that the seller or their agent can act on directly.
- What is a home staging consultation?
- What happens during the visit?
- How does a consultation compare to full staging?
- How should a homeowner prepare for the visit?
- How do stagers turn notes into a report?
- FAQ
- Key takeaways
What is a home staging consultation?
The term covers a range of formats, but the core idea stays the same across most of Canada and the US: someone with a trained eye for room layout, light, and clutter walks through a listing and writes down what should move, what should go into storage, and what small changes would help the space photograph and show better.
It is not the same as a walkthrough done for legal or safety purposes. A staging consultation has nothing to do with the systems inside the walls or the condition of major building components. It is entirely about how a space reads visually: furniture placement, surface clutter, wall color, lighting choices, and the general sense of scale in each room.
Some agents book this visit themselves and pass the notes to the seller. Others bring in an independent stager who specializes in this kind of review. Either way, the visit usually happens before a photographer is booked, since the point is to fix what the camera would otherwise capture.
For sellers working without an agent, a private consultation booked directly with a stager serves the same purpose. You can find a home stager near you if you are managing the listing process yourself.
What happens during the visit?
The visit itself is usually short, often under an hour for an average-sized home, though larger properties or homes with more rooms take longer. The stager moves through each room in a consistent order, typically starting at the entry and working toward the back of the house.
In each room, they look at a few consistent things: what furniture is present, whether the scale suits the room, what surfaces are cluttered, what the wall colors do to the sense of light, and what the room's main "message" is meant to be. A home office might get a note about the desk chair. A bedroom might get a note about the number of pillows on the bed or the height of the curtains.
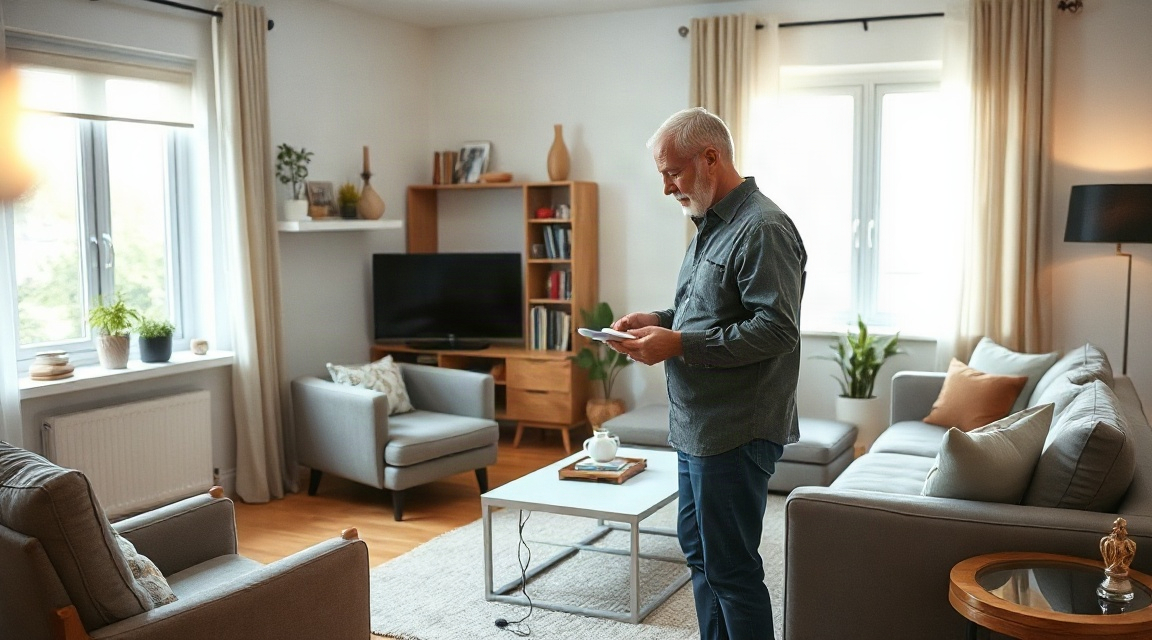
Photos are often taken during the walkthrough, not for public use but as reference notes tied to each observation. This is part of why the format works well when it becomes a written report afterward: each note can be checked against an image later, rather than relying on memory.
Some stagers bring swatches or sample pieces to test against a wall or a room's light. Others keep the visit purely observational and save any physical changes for a follow-up session. Either approach is common, and neither is inherently better. It depends on the stager's process and what the seller has already agreed to.
Pro tip: ask the stager ahead of time whether the visit includes photos and whether those photos are shared with you afterward. A written note that says "declutter the shelf" is far less useful than a photo with an arrow pointing at exactly which shelf and which items.
How does a consultation compare to full staging?
A consultation is often confused with full staging, but they are different services with different scopes. The table below lays out the practical differences a seller should understand before booking either one.
| Approach | What it includes | Typical time commitment | Best suited for |
|---|---|---|---|
| Consultation only | A walkthrough and a written report of changes to make | One visit, then the seller does the work | Sellers comfortable doing their own decluttering and rearranging |
| Consultation plus follow-up | A walkthrough, a report, then a second visit to confirm changes were made | Two visits, spaced a few days apart | Sellers who want a check-in before the photographer arrives |
| Full staging | The stager brings in furniture, art, and accessories to furnish or refresh rooms directly | Ongoing, often for the length of the listing | Vacant homes or rooms that are hard to present with existing furniture |
| Virtual consultation | Photos are sent to a stager who returns notes without visiting in person | No visit required, turnaround is usually short | Sellers who want quick input before deciding on further work |
None of these approaches is universally correct. A property that already has enough furniture and good natural light might only need a consultation. A vacant property or one with very little furniture usually needs the fuller service. You can compare staging options to see which fits a specific listing.
How should a homeowner prepare for the visit?
Preparation matters more than most sellers expect. A stager working through a cluttered, unprepared home spends most of the visit on things that could have been handled in advance, like sorting laundry piles or clearing counters, leaving less time for the actual room-by-room review.
A few things help the visit run well. Clear counters and tabletops of daily items beforehand, even if the goal is just to let the stager see the surface itself. Open curtains and turn on lights in every room so the stager can see how light behaves at different times of day. If pets are part of the household, having a plan for where they will be during the visit keeps the walkthrough focused.
It also helps to have a rough sense of the timeline. If listing photos are booked for a specific date, telling the stager that date lets them prioritize the rooms most visible in photos, usually the entry, living room, kitchen, and primary bedroom, before spending time on rooms further down the list.
Sellers working with an agent should also check whether the agent has a preferred stager they already work with regularly. Agents in larger markets, such as those handling home stagers in Toronto or home stagers in Ottawa listings, often have an established shortlist, and using someone familiar with the agent's usual reporting format can save a round of back-and-forth.
How do stagers turn notes into a report?
After the visit, most stagers convert their walkthrough notes into a written report organized by room. This is the part of the process that clients actually use day to day, since it is the reference document for what to change before the photographer shows up.
A typical report separates observations by room, often in the order the stager walked through the house, and pairs each note with a specific action: move this chair, remove this rug, swap this artwork, clear this shelf. Reports that include reference photos tend to be easier to act on than text-only lists, since the seller can see exactly what the stager meant.
Writing this report by hand from raw notes and photos is one of the more time-consuming parts of a stager's job. Some stagers now use tools that convert listing photos directly into a structured, room-by-room report, cutting the manual write-up time considerably. This matters less to the seller reading the report and more to how quickly the stager can turn it around, but faster turnaround often means the report reaches the seller with enough lead time to act on it before photos are scheduled.
For sellers who want to see what a finished report typically covers, room-by-room checklists and general listing preparation guidance are collected in the Listing Prep Almanac, which walks through common notes by room type.
Stagers working in smaller markets, including home stagers in Oshawa, often use the same report format as those in larger cities. The format itself does not change much by market size. What changes is how many properties a stager is turning reports around for in a given week, which affects how quickly a given seller gets their report back.
Pro tip: if a report comes back without any reference photos, ask whether photos were taken during the visit. Most stagers keep them on file even if they were not included in the first version, and a quick follow-up email can get them added.
Anyone researching general standards around home preparation for sale can also check resources from established real estate trade groups, such as the National Association of Realtors, which publishes broader guidance on preparing a home for listing.
FAQ
How long does a home staging consultation usually take? It depends on the size of the home and the number of rooms being reviewed, but most single visits are completed within a single afternoon. Larger homes or properties with several outbuildings may need a longer visit or a second session.
Does a consultation include moving furniture or bringing in new pieces? Not usually. A consultation is primarily an observational visit that results in a written report. Physical changes, including bringing in rental furniture or decor, are typically part of a separate full staging arrangement, though some stagers offer both as a bundled service.
Can a homeowner selling privately book a consultation without an agent? Yes. Many stagers work directly with homeowners who are managing their own listing, without requiring an agent to make the introduction. The process and report format are generally the same either way.
Key takeaways
| Point | Why it matters |
|---|---|
| A consultation is a walkthrough plus a written report | It gives the seller a concrete, room-by-room list to act on before photos are taken |
| It is not the same as full staging | Full staging brings in furniture and decor; a consultation only identifies what to change |
| Preparation before the visit saves time | Clearing surfaces and opening curtains in advance lets the stager focus on the actual review |
| Reports work best with reference photos | Photos remove ambiguity about which item or surface a note refers to |
| Report format is consistent across markets | Whether the stager works in a large city or a smaller one, the room-by-room structure tends to stay the same |
Keep reading
For sellers
The home staging checklist, room by room
Every room in the house, in the order to do them: what to remove, what to rearrange, and what a photo actually notices.
For sellers
What to fix before selling your house (and what to skip)
The repairs buyers notice first, and the projects you should not start six weeks before listing.
For sellers
How to declutter before selling, without the panic
A calm order of operations for thinning out a house before listing: what goes first, where it goes, and how far is far enough.
Want this list built for your actual rooms?
Upload a few phone photos and the free Staging Snapshot starts the plan for your rooms. No account needed.